
With Sydney facing an extended and uncertain lockdown, we find ourselves again starting the semester with remote teaching, facing a wall of black boxes, silent microphones, and tumbleweed in the Zoom chat box. Are our students engaging, or listening, or even there? At least when we were teaching in-person, we could at least see what students were doing. Last November, colleagues were reflecting in a Yammer thread about how not being able to feel or read the room while remote teaching reduced their confidence and increased their stress, and that there was a “social equation” with teaching and learning that needed balancing.
What are we trying to get a feel for?
We often take ‘engagement’ to mean whether students are focused on the topic or task at hand. Within in-person classrooms, we were accustomed to using proxies to infer engagement: where are students looking, are they taking notes, are they asking questions, what is on their computer screens, are they whispering to each other? But with remote teaching via Zoom and cameras mostly off, we have lost these proxies of behaviour. Seminal work on student engagement from Fredericks and colleagues and Kahu have highlighted that engagement extends beyond the behavioural, and includes cognitive and emotional factors as equally crucial for learning, although the latter two are more difficult to observe.
When students are behind the black rectangles of Zoom, our natural inclination as educators is to feel they are not engaged. As the weeks wear on, colleagues have noted that this makes even experienced educators feel like they are failing to engage students. Others have noted that students’ observable reactions are even more important for early career educators to feel the effectiveness of their teaching. But there may be very good reasons why students are not switching on their cameras, including environment, family, and technology.
How do we balance students’ needs but also our own needs as educators?
Use what’s in front of us
Zoom itself has a bunch of tools that we and our students can use. You will likely have been using many of these already, but here are perhaps some different ways to think about them.
Chat, with a twist
The chat box could be considered as an enhancement over in-person teaching. It has given voice to students who we might normally not have heard from. Here are some ways to encourage more engagement.
- Students’ names will appear in the chat box, but by default students can rename themselves in Zoom. This can be leveraged as a game or to encourage a sense of safety in anonymity. For a disciplinary flavour, ask students to rename themselves to someone they admire in the discipline. And don’t worry: when you access the Zoom report for your class meeting, Zoom will show you what their original name was before renaming.
-
An example of curating Zoom chat snippets into a slide to affirm student contributions If you are using chat to collect ideas from students, consider taking screenshots of key contributions and pasting that into your slidedeck live – just leave off students’ names. You can take screenshots of just an area of your screen in Windows and Mac. This helps students feel like their contributions matter, which will encourage further contributions. This also makes it easier to keep track of contributions instead of just reading off chat responses.
- Start as you mean to go on – in the first 5 minutes of the Zoom class while students are logging in, show a holding slide with an easy-to-answer question that is somewhat related to today’s class and their personal experience, and invite students to enter these into the chat box before the class gets started. As an added bonus, play and share some background music to make the wait time a bit less awkward. This gets students opening up the chat box and getting used to contributing in a very low-stakes and personal way.
- By default, Zoom chat allows messaging between the larger group and a single other individual as a direct message. We can encourage students to ask questions in direct message if they are too shy to do so for the whole group to see. Just make sure you don’t then announce their name to the class.

The chat box can sometimes be distracting so dragging the box off to the edge of the screen can help. You may also want to suggest points in your class where you specifically want students to stay off the chat and focus on live discussion or the shared screen, and have other points where you will explicitly pause to read and respond to recent chat messages. After the class, we often quickly skim through the chat log and find this a reassuring, albeit retrospective, insight into students’ conversations and questions for follow-up – another way to feel the room.
Draw on my screen
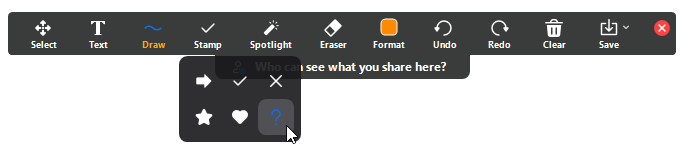
Zoom has built-in annotation tools that you and students can use to draw on the shared screen. The shared screen can either be a blank ‘whiteboard’, or whatever application or monitor is being shared. While the annotations can include drawings, squiggles, shapes, lines, and text, these may present higher barriers to entry compared to the simpler annotations such as stamps. It’s useful to explain to students how to access the annotations and stamps in Zoom and have them practice before you ask for their actual responses. There’s something inherently democratising (and childishly fun) about graffiting over someone’s shared screen for everyone else in the class to see; even our Graduate Certificate students quite enjoy this.
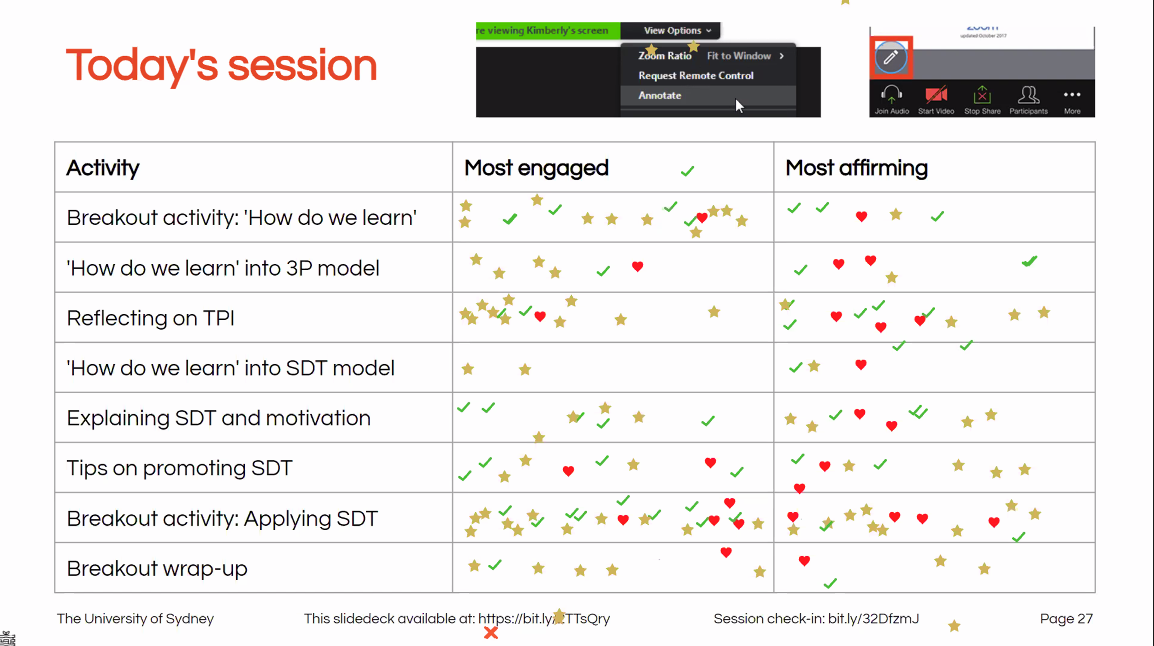
Once your students have found the right annotations, clear the screen and show your prompt. Invite your students to stamp your shared screen; this is another low-risk activity for students to engage and for you to feel the room. Some examples:
- Analyse and mark up a piece of text on screen – use hearts for one literary device, use stars for another, etc.
- Vote on particular topics that are challenging, unanswered, confident.
- Reflect on elements of today’s class, using any stamp you’d like.
- Pinpoint on an image where you think a particular feature exists by placing a cross. Or, as an easy introductory activity for a geographically-distributed cohort, mark on a world map where you are currently.

Making the most of breakout rooms
Breakout rooms offer a great opportunity for students to meet in small groups to complete tasks. For the teacher, however, it is often uncomfortable having zero visibility of what students are up to. In a physical classroom we would expect the pleasing murmur of discussion, but on Zoom as soon as you hit the “Open rooms” button you are left with deafening silence and disappearing black rectangles. Resist the urge to immediately join a group of students; this is usually time to make a cup of tea! Having returned with a cup of tea, and having given students time to say hello and figure out the task, we have some options to consider to support breakout room activity and help you feel the room(s).
- Before launching into breakout rooms, check that everyone is on board. After describing the breakout room activity, ask students to use Zoom’s participant reaction functions such as yes/no, thumbs up/down to indicate if they understand the activity. If not, circle back and help to clarify.
- Visiting the breakout room – as a host (or a co-host) you have permission to enter any of the breakout rooms. This helps you to speak to a smaller group of students and hear from those who may be reluctant to speak up in the larger group. We tend to take this approach to ask the group that we might call on them after the activity to share with the whole class because their work is interesting.
There may be times when visiting breakout rooms is counterproductive (if the teacher’s sudden appearance might disrupt conversation, or land you in the decontextualised middle of a discussion) or not possible (if you have lots of breakout rooms but insufficient time to visit a good number of them). Having some visibility of students’ work at these times can help to bridge this disconnect.
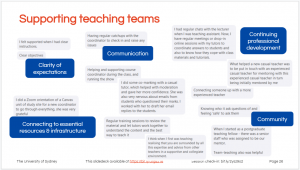
- Staying connected with the rooms – create a bunch of collaboratively-edited online documents using tools such as Office 365 Word documents or Google Docs or even Padlet and share these with students to use in breakout room activities. We often have all groups’ documents open to see how they are going; if there is a group that seems stuck, we can visit them and provide some informed assistance (“It looks like you’re stuck on part 2…”). If we see a great contribution, we can use the commenting function to highlight this without interrupting the discussion. It can be quite magical to watch on your screen dozens of students co-create, collaborate, and populate documents that have been set up to scaffold activities.
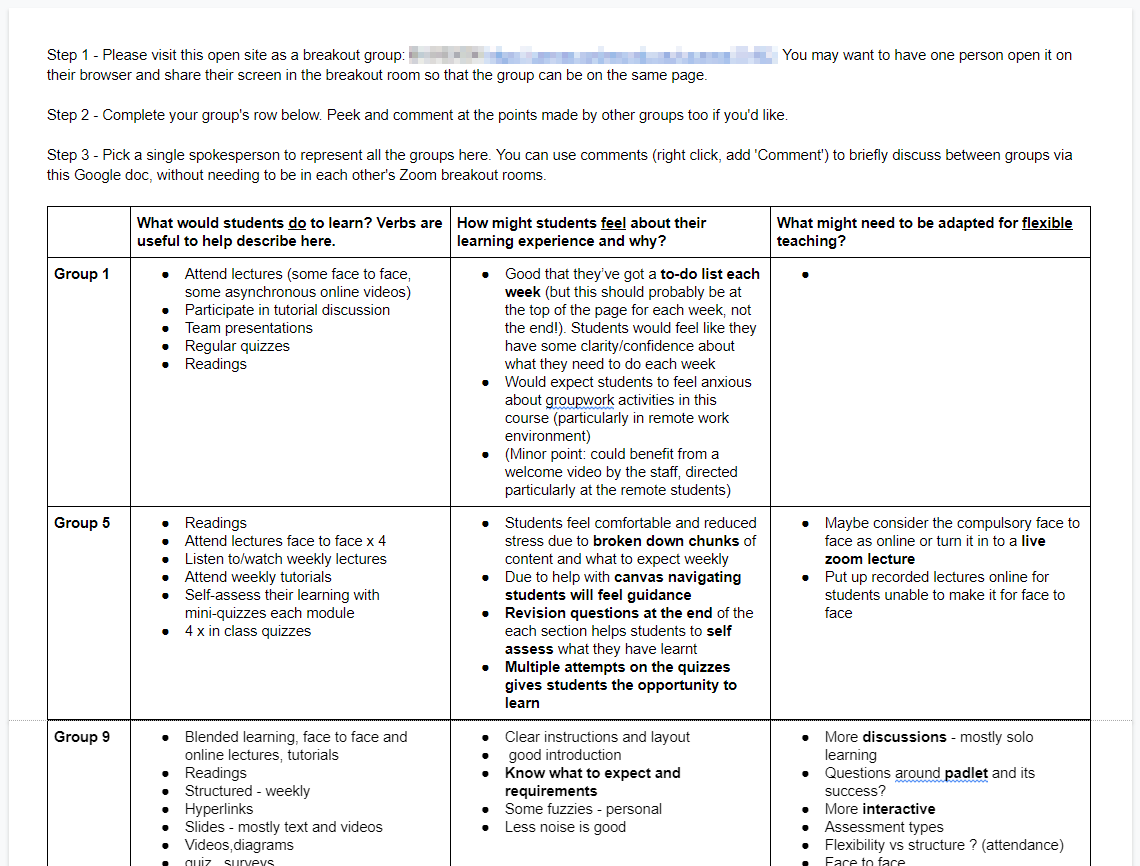
-

An example of a three-group collaborative online document. Note the in-document instructions at the top, and tabulated space for group contributions. To help breakout rooms feel better connected with other breakout rooms, try a collaborative document with a table structure: put each discussion prompt or question on separate rows, and have a column for each group (two to three groups per document usually works well). This way when groups type into the online document, they also can feel the presence of other student groups.
Another tip: having allocated students to breakout rooms and before opening these rooms, we always add spare empty rooms to the breakout room sets. These spare rooms can then be used by tutors in large classes taught by teaching teams or as spare spaces for students to enter if they need to speak with us one-on-one.
Student response systems
Student response systems, polling tools, or clickers have long been used to measure and support engagement in large classes where, similar to online learning, the majority of students stay ‘invisible’ by the virtue of the class size. These tools allow for anonymous contributions from students, which can encourage participation and avoid spotlighting. Most polling tools will show not only students’ responses but also how many have participated, helping you to feel students’ presence. Check out some other Teaching@Sydney articles that talk about polling tools:
- Three Interactive Polling Tools Reviewed
- Interactive lectures – as easy as M-C-Q
- Engaging students through inclusive teaching: conversations with Dr Samantha McMahon
Maybe there is no room to feel…
Another colleague has insightfully pointed out that perhaps, in the remote teaching landscape, there is no ‘room’ anymore, or rather that the room is now much bigger than just the synchronous (and online) space we share with our students for a few hours a week. While it’s important to feel connected to students (and help them feel connected to you) during these synchronous sessions, try to consider their engagement across other (asynchronous) activities that you have designed as well such as submissions, collaborative group spaces, and discussions.
Remote teaching is taxing. Remote learning is as well. We hope that by trying out one or two simple ways that can help you ‘feel the room’ while remote teaching will help you and your students feel better connected and that little bit more human. Hang in there.