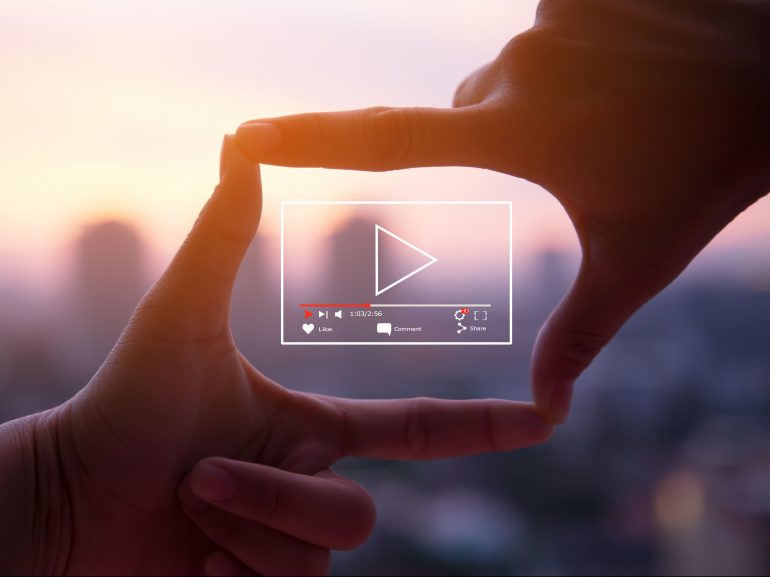
Making video content for your teaching can sometimes be a little daunting. The Educational Innovation Media Team creates all sorts of video content, and we also support staff to make their own (you can book a time to chat with us that suits you). There are some common issues that everyone faces, so here’s some answers to our 5 most asked questions about video.
#1 How do I make my video look better?
First, to state the obvious, you’ll need a camera. If you have a camera like a DSLR or some other dedicated camera, great! If you can use your smart phone, great! If all you have access to is a webcam, great! It’s much more important what you do in front of the camera, rather than the technology behind it. Having said that, nobody has the patience to watch poor quality video. And why should they, when it’s so simple to get good results with standard, everyday technology:
Lighting
A little bit of consideration of lighting can go a long way in improving your video. Again, you don’t need expensive equipment, and often natural light is all that’s required.
#2 How do I make my video/podcast sound better?
The quality of the audio can make or break your content. Viewers will forgive average video quality, but poor audio has a major negative impact on attention. The good news is you can improve your audio recording quality with a few simple steps.
#3 What software can I use to edit?
There’s a lot of software to choose from to edit video. University staff have access to the full suite of Adobe Creative Cloud software. This includes the workhorse Premiere Pro and its cousin, the slimmed down Premiere Rush. Premiere Pro is a very powerful piece of software and can seem overwhelming when starting out. Premiere Rush is a simple way you can start editing your videos. It works on Mac, Windows, iOS, and Android.
#4 How long should my video be?
People often ask, “What’s the ideal length of a video?” There is no magic figure for this, it all depends on the content. The more interesting and engaging the content and its presentation, the longer the video can be whilst still engaging students’ attention. Having said that, a good general rule is to aim for under 8 minutes. Chunk larger topics into smaller sections/separate videos.
A good question to ask yourself is: do you actually need video? Could the content be delivered as audio only? The advantages are simpler production and students are much more likely to listen to a 20 minute podcast compared to watching a 20 minute video.
#5 What support is available for making educational media?
There are a number of video services available to staff, ranging from ‘do -it-yourself’ to a full video production service.
The DIY Studio is located on level 2 of the Education Building. It is available to all staff to book and use once they have completed an orientation session.
DIY Media Kits are available to hire for recording on campus or on location.
You can also book a 30 minute online consultation with an educational designer or video professional – this is a great way to get direct advice and ask any questions you may have.
The Educational Innovation Media Team can work with you on more advanced video projects. Service is limited and some charges may apply. The team has a fully equipped video studio, with green screen capability, and can also record on campus or even off campus if required. To discuss your video project, please contact the team.
#6 Bonus
Here are a few more simple tips and tricks to help improve your educational media.
- Don’t worry about making small mistakes. Your students don’t expect you to be perfect, so if you make a mistake or stumble on a word, simply acknowledge it, correct it and move on.
- Be yourself; there is no need to present like a politician or a newsreader, your students have enough of that in their lives. Keep them engaged by being you!
- Do a short test recording before you begin. This will help you confirm the equipment is working correctly and could save you a lot of time and effort in the long run.
- Usually you’ll be recording yourself, talking directly to camera. But an interview can be a useful addition to your teaching resources. It’s a great way to talk to an expert in the field, hear about first-hand experiences or simply get a different take on the subject. Here’s a quick guide for recording an interview: